
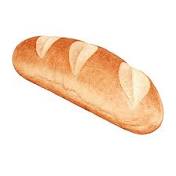
 In a previous post in June, I talked about making bread, and I am still doing it a couple of times a week. In addition to my family and I enjoying it, it is a nice gift to give people just for the heck of it! It’s easy to throw an extra loaf in the oven along with one you are cooking for yourself. My grandchildren and my mother love it! I’ve also bartered bread for honey that that one of Leslie’s friends produces, and of course, the honey goes into a bread variation!
One of my blog readers asked me for information about the equipment I use for bread making, and it occurred to me that I could provide that information here on the blog. If you are interested in making your own bread, this information could get you started without having to figure it all out for yourself. Some of the information comes from the book, The New Artisan Bread in 5 Minutes a Day, and some of it I figured out for myself by shopping on Amazon.
Don’t be overwhelmed by the length and detail of this list. The items I suggest are not mandatory by any means, but they are all easy to get, mostly on Amazon. (If you are going to order from Amazon and you’re not already an Amazon Prime member, join first to save on shipping and to get your items sooner.) The reason I am going into so much detail is to save you from having to figure it out yourself, but you can “make do” for most of the items.
My previous post had a link to a website with some basic instructions you can use to get started. The site is by the authors of the book The New Artisan Bread in 5 Minutes a Day by Jeff Hertzberg and Zoë François. I strongly recommend that you get the book. It has a lot of great tips and recipes. However, if you want to try making bread first, the {website alternative} will get you started. You can get the book from Amazon, or locally from Barnes & Noble and other bookstores.
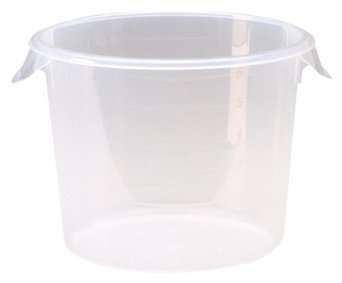 You will need a large container in which to mix the dough. I tried some others that I found at the grocery store, but the Rubbermaid commercial food storage container, 6 qt. Round, clear polyethylene FG572324CLR is inexpensive and works well. Here is the link to the Amazon page:
Rubbermaid commercial food storage container, 6 qt. Round, clear polyethylene FG572324CLR
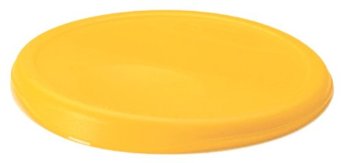 You also need a top for the container. I got a matching top, but it no longer seems to be available. No big deal, the Rubbermaid commercial lid for 6 to 8 qt. round storage containers FG572500YEL is available from Amazon, too. You will need to poke a small hole in the top to let the gasses out as the yeast ferments. It doesn’t have to be big—a meat fork or a nail will do it.
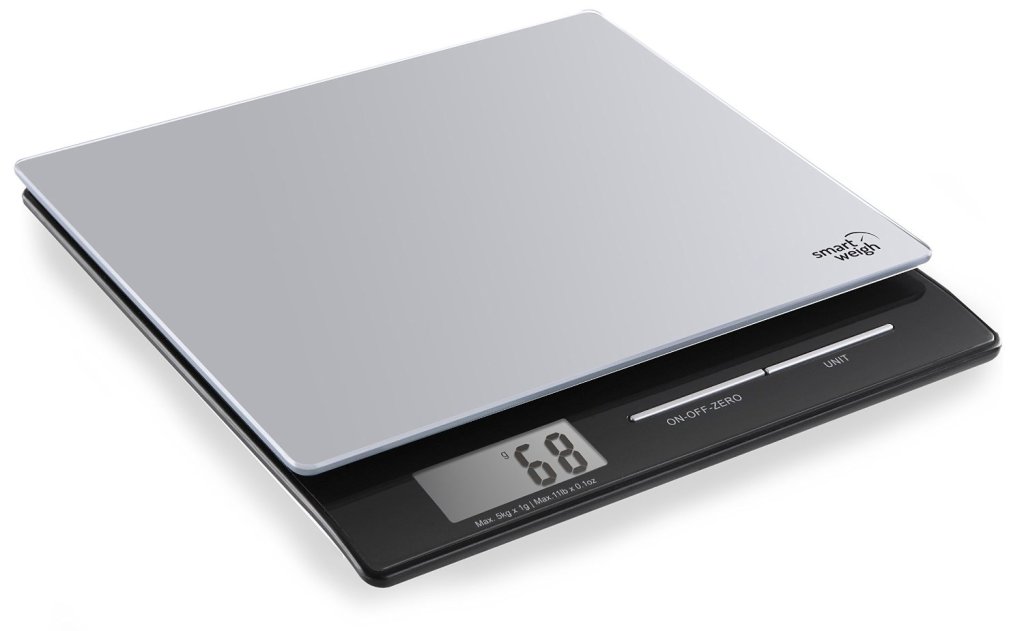 I strongly recommend a digital scale! It makes measuring fast and easy. There are lots out there, but I got the Smart Weigh PL11B Professional Digital Kitchen and Postal Scale with Tempered Glass Platform, Silver from Amazon. It works well and is reasonably priced. It works well for a postal scale, too.
The ingredients are simple and are available at the grocery store. I won’t be too specific about getting them, but here are some tips: Use all-purpose flour, not bread flour. The authors recommend unbleached flour, and that’s what I use. Kosher salt—do not use sea salt, it is too coarse. Yeast—you can use the kind in envelopes, about ½ envelope per batch, but it’s easier to use it from the jar. I use Red Star Active Dry Yeast. After the first few batches, I switched from the envelopes to the 4 oz. jar. The only other ingredient is water. Pay attention to the instructions on water temperature.
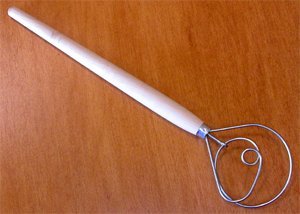
Once you measure the ingredients into the container, you need to stir them! You can use a wooden spoon or a Danish dough whisk described in the book and on the web site. I use a spatula like the one shown in this picture, because it lets me get the ingredients out of the corners of the container, but I’ve never tried the whisk. Here are links to both, but you can find the spatulas in the grocery store.
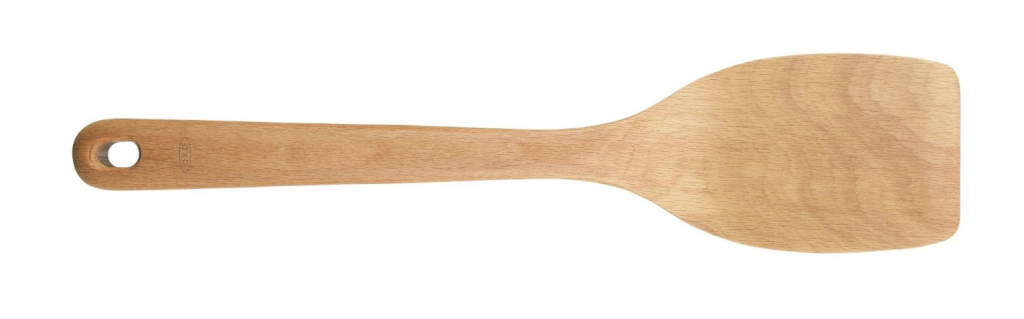
OXO Good Grips Wooden Turner
After the dough is mixed, it sits overnight, and then you are ready to make bread. I use parchment paper to put the dough on. Others use flour, corn meal or steel cut oatmeal. Parchment paper is easy. Get it at the grocery store.
When the dough has rested, you will need to slash the top with a serrated knife. You’ll also want one for cutting the finished bread. We had several, so I don’t have any recommendations. (Actually, slashing the bread can be tricky and one knife given to us by Janie’s dad 30 years ago seems to work the best, but I can’t tell you why!)
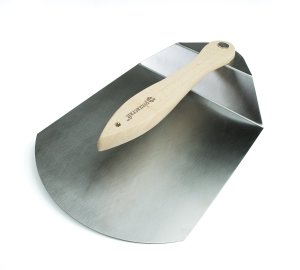
Next, you can slide the parchment paper onto a pizza peel—those giant spatulas used to put pizzas in the oven. I got the Pizzacraft pizza peel with folding handle (stainless) PC0200.
An oven thermometer is important. You will be surprised at how inaccurate your oven is. Mine is accurate at 450 degrees, which is the most common baking temperature, but it is way off for some of the temperatures used for different kinds of dough. I use the thermometer every time, because it also takes a long time for the over to heat up with a pizza stone, and I check to be sure it is at the correct temperature. I got my thermometer at the grocery store, so I have no particular recommendations.
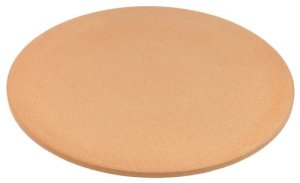 A special word about pizza stones. They are probably the most expensive part of the operation. I like having one, but there are several much cheaper alternatives described in the book. If you don’t get the book right away and you want to try bread making out, you can get a 12” x 12” unglazed terra cotta tile (the red clay they make flower pots out of). If you can’t find one that large, just get some smaller ones and put them in the oven together. I got the Old Stone 4461 16-Inch Round Oven Pizza Stone.
When the bread comes out of the oven, it will go on a cooling rack. You probably already have one, but you can get them at the grocery store.
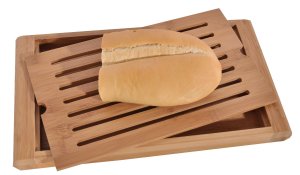 You also probably have a cutting board, but I like my slotted 2-piece cutting board that lets the crumbs drop down to a compartment below. It also works well as a cooling rack. I got a Bamboo Bread Cutting Board. 14.25″ W X 8″ D X 1.5″ H. This is a smallish one because I don’t have a lot of counter space. If that’s not your problem, there are larger ones to be found on Amazon.
That’s it! Once again, don’t be overwhelmed by the detail of this list. Just try making some bread and you won’t regret it!
I used to like bread making but appreciate Rich’s gift since I don’t do it anymore. This may be more involved than I remember.
I watched the Seahawks last night – pretty exciting. Mom