I haven’t been too diligent about updating my blog recently. Partly it’s because I’ve been busy—working a few days, walking greyhounds at a local shelter for exercise, and miscellaneous other things. One of my activities was building a castle with our youngest granddaughter, Sarah.
Each year, the girls’ school has a formal “Coronation” ceremony for 6th graders that is similar to Catholic Confirmation. The students dress up in medieval costumes and are dedicated to Christ.
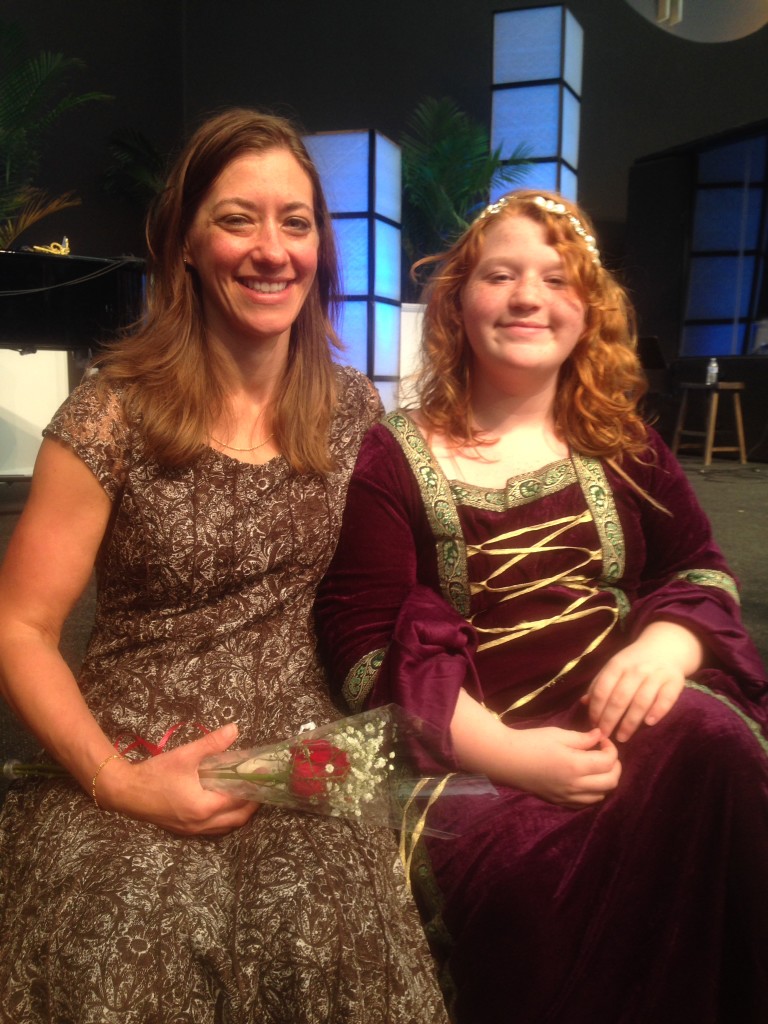 Sarah’s hasn’t taken place yet, but here is Emma 2 years ago. Janie and I contributed Sarah’s dress (as we had for Emma), and Janie altered it to fit.
Along with the Coronation, they have a program integrated with the 6th grade history classes. While they are studying medieval history, they also build a castle in a traditional design. In the process, they learn the parts of a traditional castle, and create a model. I helped Sarah build the castle. It was a big project! Sarah is imaginative and meticulous, so she had some very creative design ideas. Unfortunately, I did not think to start taking pictures of the process until reminded by my friend Roger. I was able to capture part of the process before we finished the project though.
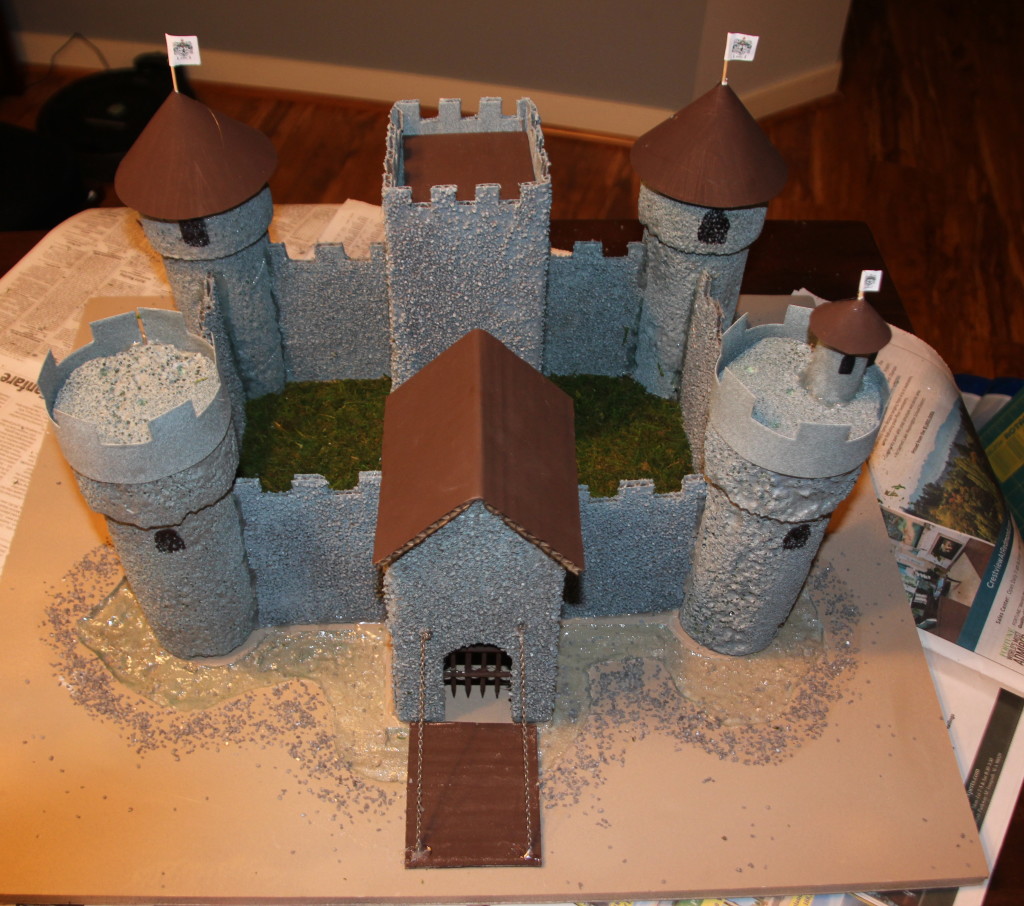
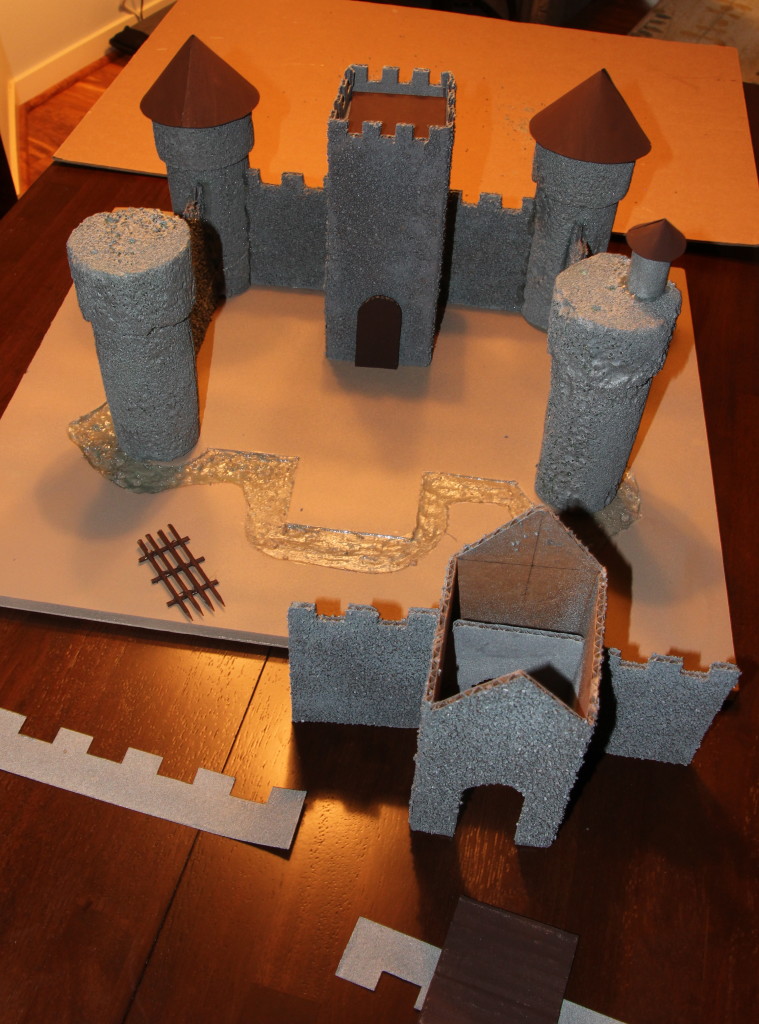 Here is the partially constructed castle, with the front wall and gatehouse not yet in place. The castle is not yet attached to the base. The gatehouse roof and the battlements for the two front towers have not been installed. The grid-looking thing is the portcullis, You can also see the moat that Sarah designed.
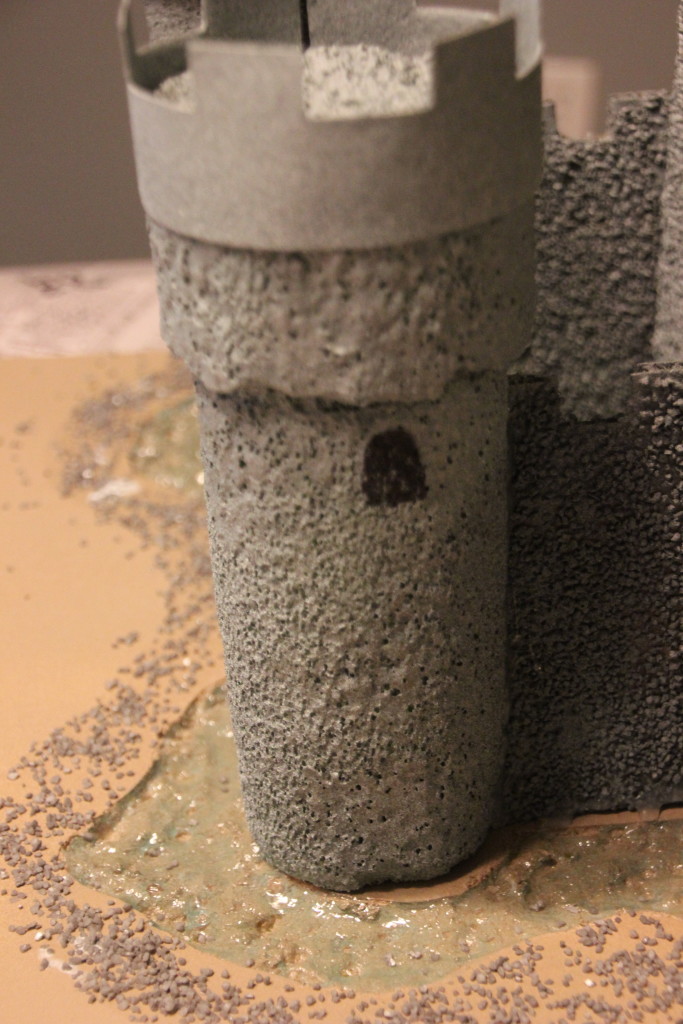
This is a closeup of one of the towers with the battlements added. Sarah came up with the idea carving the moat out of the foam board base. After the moat was carved out, she painted the entire base with a textured brown paint to look like soil,Then she filled the moat with a clear blue glue she had found to create the appearance of water. The towers are styrofoam painted with a textured grey paint to give the appearance of stone. She also added some of the gravel around the edge of the moat.
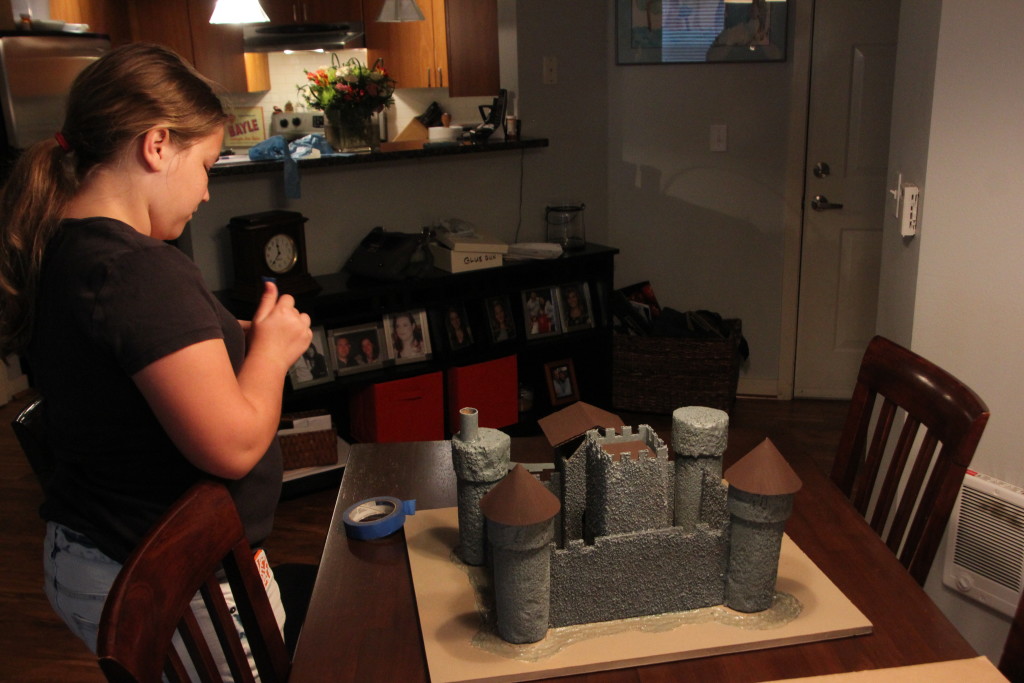
The styrofoam towers didn’t need any extra texture, but since Sarah used corregated cardboard for the walls, she wanted to add texture to them. Janie spotted some tiny grey gravel at the craft store and Sarah decided to use Modge Podge to add it to the walls. Here are two shots of the nearly finished castle showing how the texture of the walls blended with the towers.
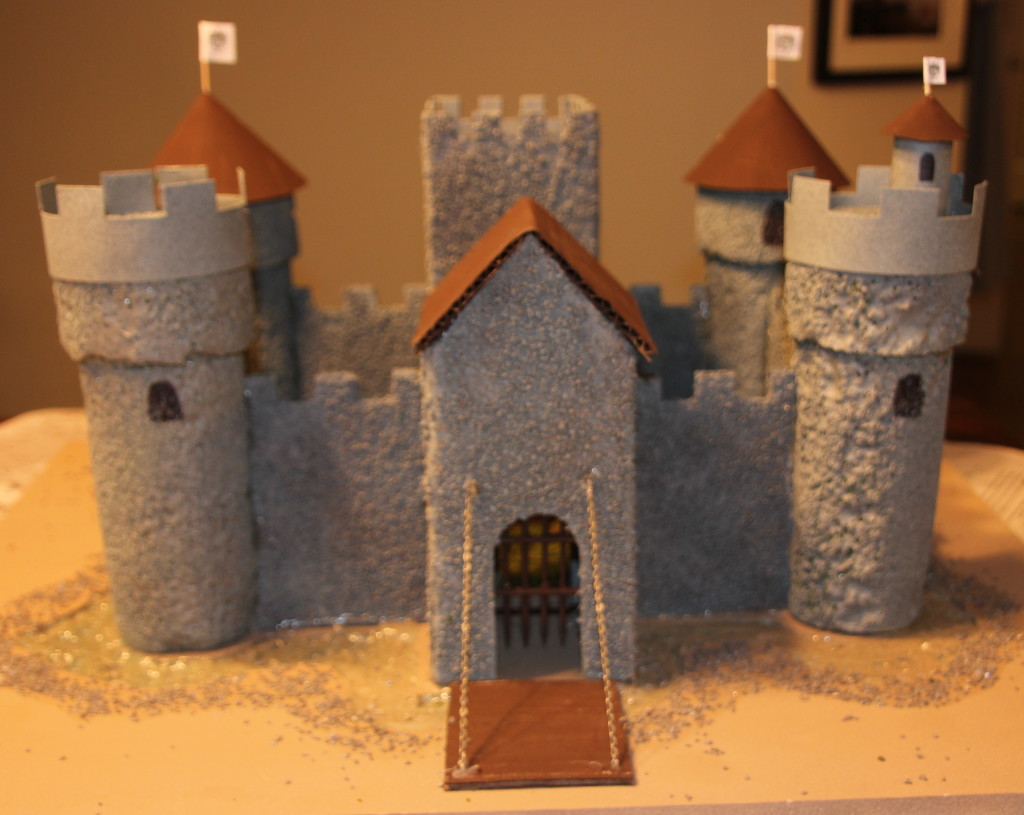
The roofs of the rear towers and the gatehouse have been added with flags, A drawbridge is in place and the portcullis has been mounted in the gatehouse door.
 Inside the bailey (courtyard) Sarah has added grass.
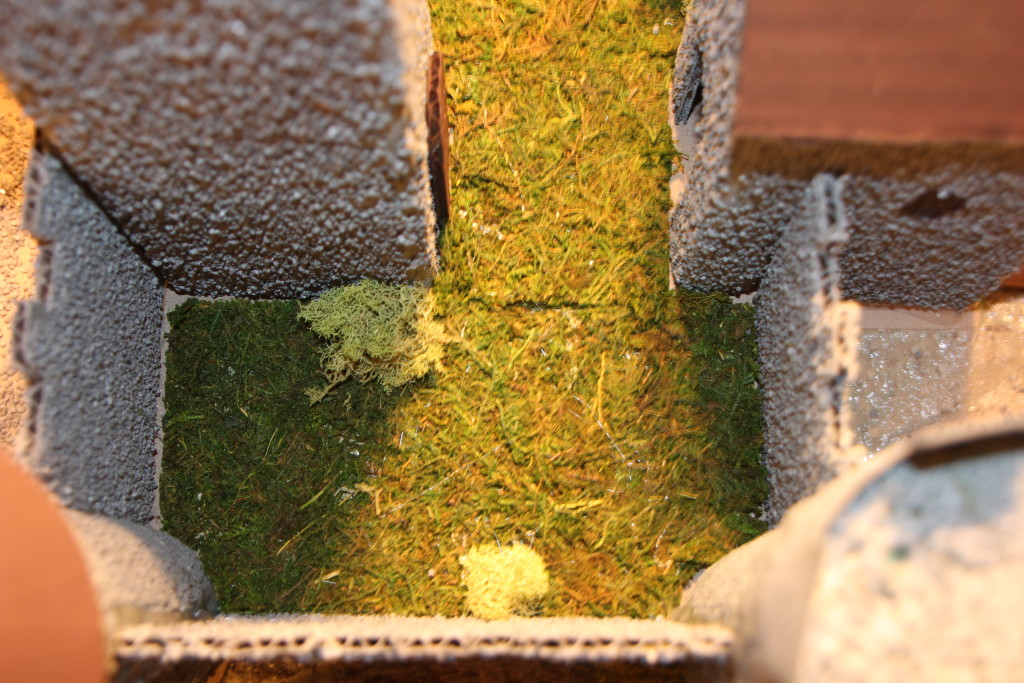
Also inside the bailey, she added some shrubs. The grass and shrubs were made of 2 kinds of moss that she found at the craft store.
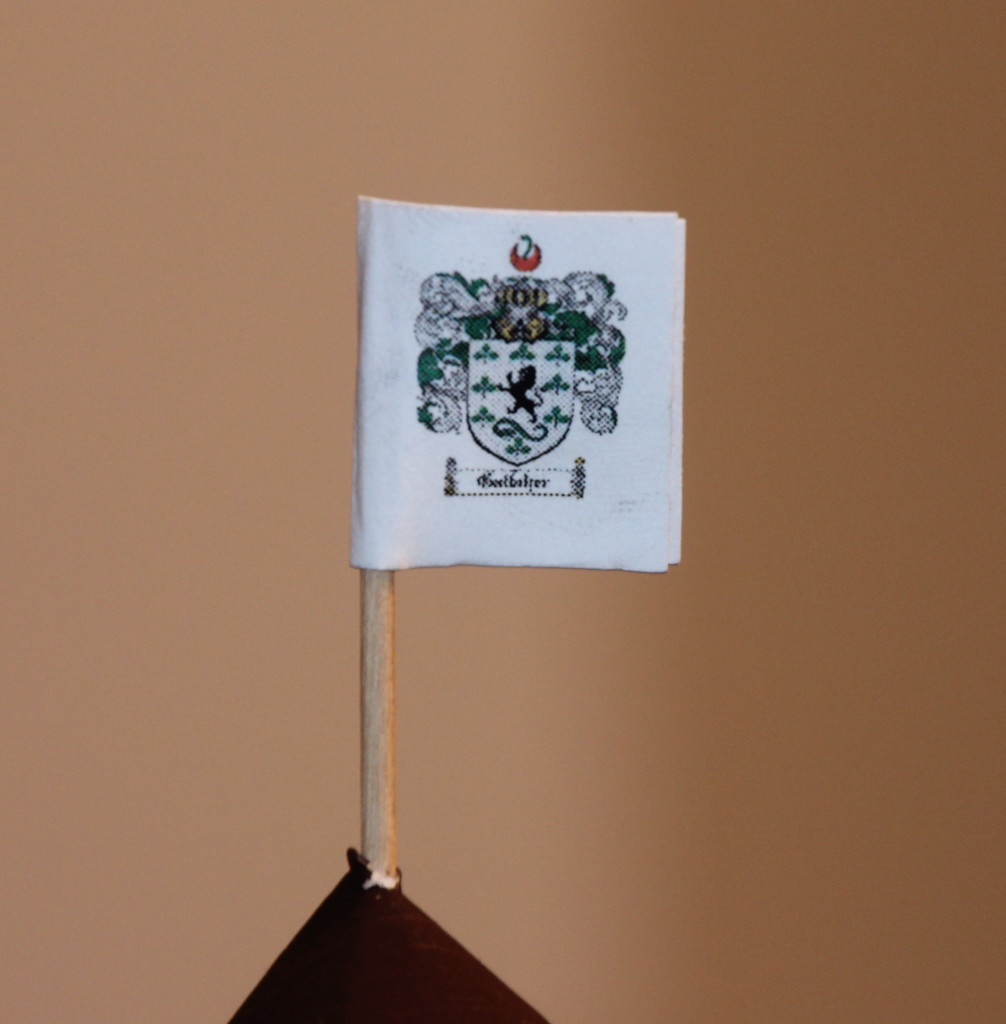
The flags on top of the castle are tiny, but she managed to put the Gallaher coat of arms on them!
And here is the finished castle! The final touch was adding trees and shrubs around the outside. I was very proud of Sarah for her imagination and dedication. Although I helped, primarily with measuring and hot gluing, she did the design work, searched out the supplies with us at the craft store, drew and cut out the pieces and did the painting.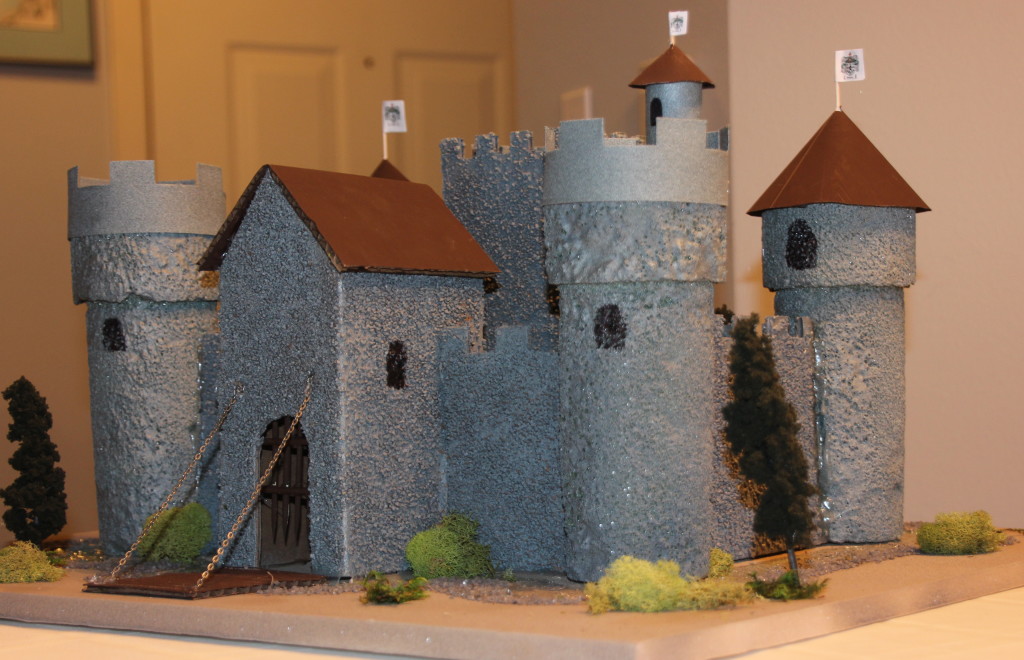
Papa and Sarah had a great time working on this project. I was incharge of altering her costume. Great job Sarah.
No, actually Sarah found it all by herself online, figured out how to resize it and printed it for the flags!
Very Impressive! Especially liked the moat and the flags! Guessing Rich had something to do with the print job on those?